Skip to content

The day my DSLR died (to me)

I like taking pictures, and some years back, I bought a starter-level DSLR—the Fuji X-E3. It's a well-reviewed APS-C camera, and I enjoy taking photos with it. I have four lenses for it, including a decent zoom lens.

It's a wonderful camera…but it basically died to me some time in mid July of 2025. Why then? Because that's when my wife and I were starting to put together our lists of stuff to pack in the car for our 7,000+ mile adventure.

[continue reading…]


We drove through 46% of the US states on one trip

My wife and I just completed a three-week journey around a chunk of the United States. What started as a plan to visit family and friends in Boulder, Colorado and Albuquerque, New Mexico, expanded to cover 23 states, two countries, and 19 separate attractions, spanning 7,200+ miles of travel.

We got incredibly lucky with weather (generally gorgeous, only really too hot in Cincinnati), health (no colds or COVID for either of us), crowds (minimal), and the car (no accidents and no issues). It was an excellent trip; here's a view of the overall route:

(When we entered Oklahoma and then Arkansas, I crossed off the last two states on my list—I have now visited all 50 states. I though I'd get this done years ago, but it just never worked out until now.)

After our family and friends visit ended in Albuquerque, we started the real tour, heading east to Memphis, then generally northeast to Niagara Falls, and then back due west to Portland. Along the way, we stopped at 18 separate attractions—monuments, museums, an amusement park, a zoo, tourist traps, and even a tennis match. I'll post separately on the logistics of this trip, as we learned a fair bit that might be useful to others planning something similar.

But if you're interested in what all we saw, here's a chronological list with links to the Flickr albums associated with each attraction:

[continue reading…]


It’s been quiet around here lately…

Since February, in fact. Sorry about that; life happened. Hopefully that starts changing soon, as in today.

The first update, though, is that I'm going to stop updating my macOS releases post—I think it's served its need, and it was becoming arduous to keep up with. I have added a link to Wikipedia's macOS history page at the top of the post, as you can find much of the information I provided there. I know it's not exactly the same, but for my needs, it's good enough.

I do plan to resume posting, starting very shortly with a post that somewhat explains my absence over the last few months.https://robservatory.com/wp-admin/profile.php


A full history of macOS (OS X) release dates and rates

You may have noticed this post is quite out of date. It was getting cumbersome to keep up with all of Apple's updates, including to older OS releases. As I wasn't using the data myself much any more, I've really lost interest in keeping it up, so it's officially retired.

In its stead, if you still need this detail, I recommend Wikipedia's macOS Version History page. It has much the same information, and if you need details about a particular release, just click to see all of its point releases (i.e. Sequoia).

Thanks for all the help with this post over the years, but it's time for it to sign off...no more updates to my macOS updates post.

[continue reading…]


Create macOS automations using a little-known app

I use a lot of browsers for testing, so I created this launcher to make the process easier:

Browser launcher

You may be wondering what third-party tool I used to do this. Such things are possible in Keyboard Maestro through custom HTML prompts, but that's a lot of work. I'm sure there are other apps that can do similar things. Surprisingly, though, I used nothing more than a built-in app to create this launcher. The app has existed since macOS 10.15 (Catalina), but I doubt more than a handful of Mac users (outside its target user base) even know it exists—I didn't hear about it until yesterday.

What app is that? It's called Panel Editor, and the easiest place to find it is here: System Settings → Accessibility → Keyboard → Scroll down until you see the Panel Editor button.

[continue reading…]


Revisting old-school stock quotes

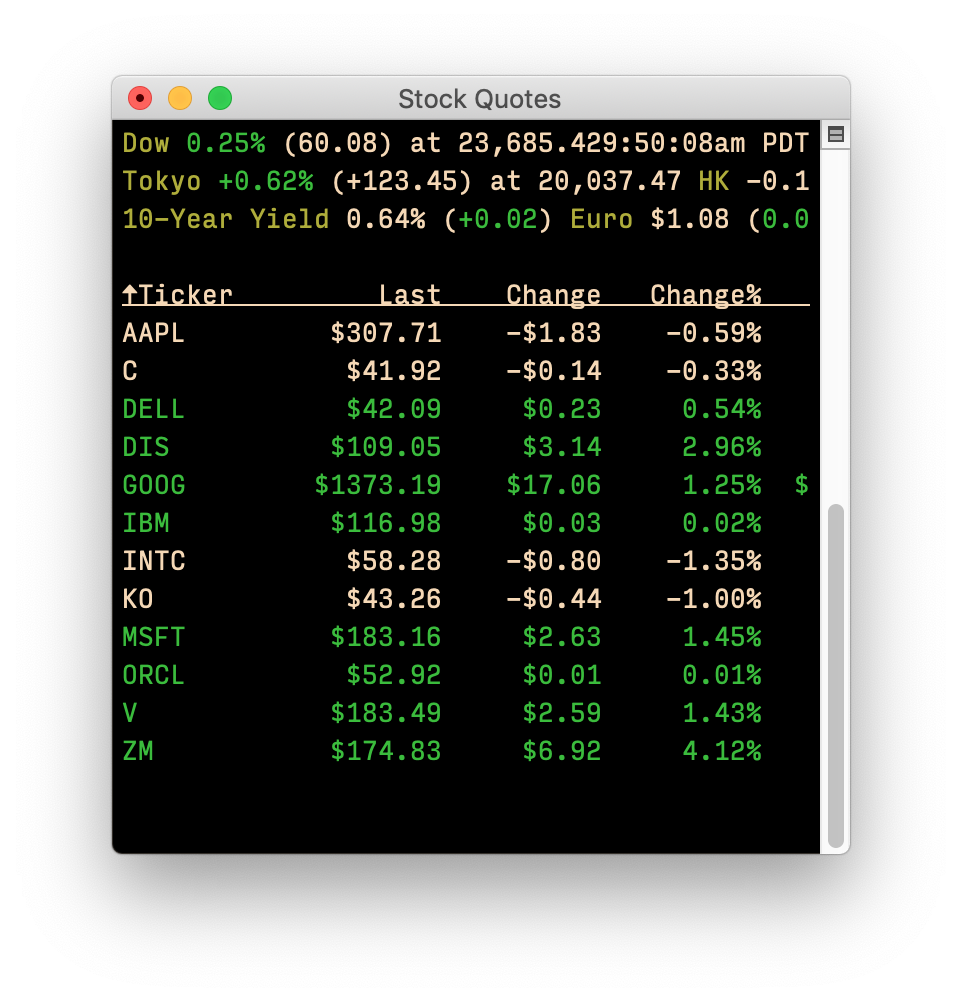
Back in 2020, I explained how to use Terminal to display stock quotes. Once set up, it looks something like the image at right, though that's a four-year old screenshot, so the prices are way off!

In a follow-up post, I showed how to quickly chart any of the stocks in your list. I've moved to a new Mac since then, which means (as always for me with a new Mac), I set it up from scratch.

Sometimes not everything makes the cut for the new Mac; in this case, my Terminal quotes were one of the things that didn't make the cut.

But I recently decided I wanted them back, and the good news is that it's gotten a bit simpler in four years since I last wrote about this. And I took the time to improve the stock charting macro, too.

Read on if you're interested in geeky Terminal stock quotes…

[continue reading…]


Fix a broken search in Photos

I was having some issues with my desktop photos (which I load from Photos) not working properly, and I noticed that one particular photo wouldn't preview in the Wallpaper System Settings panel. I noted the name, searched for it in Photos, and came up with no matches. Then I tried other searches, for photos I knew were there as I could see them onscreen, and still, no matches. Clearly Photos' search was broken.

I tried the (long, slow, painful) photo library rebuild process, but still, no search.

After much digging, I found a solution that works, which is to force Photos to rebuild its search database. Here's how to do that:

  1. Make sure you have good backup of Photos before you start, just in case.
  2. Also make sure you quit Photos before proceeding.
  3. In Finder, navigate to your Photos.library file and right-click on it. Select Show Package Contents from the pop-up menu.
  4. In the new window that opens, open the database folder. Inside of that folder is a search folder. Delete it, but leave the database folder open.

That's it, you're (almost) done. Now launch Photos, and it will start rebuilding the search database. This can take a while, depending on the size of your database—it took about five or so minutes for my 65,000ish image collection. There's also no onscreen indication that anything is happening, so use Finder: Open the newly-created search folder in Finder, and check the size of the psi.sqlite file. When the size stops changing, the rebuild is done.

I found this answer in a post by Michelle Lyons in this Apple Discussiosn thread. Michelle notes they found the answer elsewhere, but don't link to that source, so I don't know who originally discovered this. All I know is it worked for me!


Undocumented find: A great Mac-compatible flightstick

The VelocityOne Flightsticktl;dr version: I highly recommend the Turtle Beach VelocityOne Flightstick (right) for use with X-Plane on the Mac. Despite not being advertised as Mac-compatible, it works incredibly well, and at only $129 on Amazon, is a very good deal.

There are tons of buttons, three separate analog axes, a mouse and display built into the top of the stick, LED lighting (which you can also disable), and much more. Keep reading for a lot more detail, but if you're looking for a good Mac-compatible Flightstick, I'm over a year into my VelocityOne, and haven't had any issues yet.


I recently built myself a new gaming PC—Frankenmac was nearly seven years old, and was incapable of running the games I wanted to play with any sort of decent framerates. I won't bore you with the details of the build, but the perforance jump from an Nvidia 1080 to Nvidia 4080 graphics card was very impressive!

My main gaming outlet—on both my Mac and my PC—is flight simulation. On the Mac (or PC), it's X-Plane, plus Microsoft's Flight Simulator on the PC. As I don't have a lot of spare desk space, or the desire to spend a ton of money on flight peripherals, I control the simulators with a flightstick1A joystick with features specific to flight sims, such as a yaw axis..

[continue reading…]


What a long strange trip it was…

I was in Washington, DC for the last week or so, visiting some relatives and acting like a tourist. I flew home last night, and before departure, the pilot announced the flight would take a bit longer than usual—five hours and 40 minutes—due to some routing for weather. In the end, it was almost another hour more than that, taking 6:27 from gate to gate.

After the announcement, I checked the weather map just before we departed, and indeed there were a couple storms in the midwest:

I figured the rerouting was to head a bit north of the ideal path, towards Minneapolis, to duck between the storms. Or maybe further north, into Canada. Oh how wrong I was!

[continue reading…]


I despise this icon

That ugly garish purple travesty shows up in the menu bar whenever your screen is being recorded by any number of apps. From Apple's perspective, they probably consider it a good thing, as it lets a user know their screen is being recorded, and I understand that logic.

But it also shows up when you record your own screen via an app such as ScreenFlow. I find it incredibly intrusive, and there's no option for a user to say "Yes, Apple, I know my screen is being recorded—because I myself started the recording!—please disable that ugly purple icon in my menu bar."

Left in place, the purple icon screams for attention any time it's onscreen, regardless of what you're trying to show in your screen recording. It's unlike every other item in the menu bar, and at least for me, my eye is constantly drawn to it.

So please, Apple, let the user disable that menu bar icon. A logical way to do this would be to show a "Disable this one occurrence" menu item when the menu bar icon is clicked. That way, it's not a blanket override, but you could easily banish it for a given recording.

Until that happens, however, we (all two of us) here at Many Tricks so dislike the icon that we've implemented a workaround, but it's not ideal.

[continue reading…]